After trying several recipes, I was able to put together the best combination of ingredients and techniques for a good soaked wheat bread. The recipe is:
4 cups whole wheat flour
4 cups white flour (plus extra for kneading)
2 tsp. salt
1 crushed vitamin C tablet
3 cups water
2 T. apple cider vinegar
1/4 cup warm water
2 T. sugar
1 T. dry active yeast
olive or coconut oil (for oiling bowls)
butter (for greasing bread pans)
The method:
Sift together the 8 cups of flour, salt and crushed vitamin C tablet. Stir together the apple cider vinegar and the 3 cups of water, then add to the sifted flour mix. Stir well and get your hands in there if necessary to knead it all together. Place the dough in an oiled bowl and seal tightly with plastic wrap. Allow the mixture to soak for 7-30 hours.
After soaking, proof the yeast by mixing it with sugar and 1/4 cup warm water and allowing it to start foaming (about 5 minutes). Add the yeast to the soaked wheat dough. (This is very messy! The best way is to put it all in a bowl large enough to get your hands in there and start kneading the mess together in the bowl.) Once it is well-mixed, place the dough in an oiled bowl to rise.
Prepare glass bread pans by thoroughly buttering. It's important to get butter in all the corners of the bread pans!
After the dough has doubled, turn it out onto a floured surface to knead. At this point, you may find yourself kneading in up to another cup of white flour until the texture of the dough is soft, but not stiff. Divide the dough in half. Either roll out or flatten each dough with your hands until they are approximately 9x12 rectangles. Roll into the shape of a loaf and place in bread pan. Leave uncovered and allow to rise until doubled (after it has risen for about half an hour, preheat your oven so it will be ready).
Bake for 40 minutes at 350 degrees Fahrenheit. Remove from pans and allow to cool completely before cutting.
NOTES:
You can see from the picture above that soaked wheat bread isn't always the prettiest. It's hard to produce a perfectly rounded top because the dough is very moist (and you can see I didn't divide my dough perfectly because one loaf is smaller than the other!)
The combination of white with whole wheat may render the bread less nutritious, but in my experience produces a better textured and shaped loaf.
To sift the dry ingredients together, simply stir them well with a wire whisk.
If apple cider vinegar is unavailable, any acid medium will do: a different vinegar, lemon juice, or perhaps kefir or yogurt.
The purpose of the vitamin C tablet is to condition the dough so the texture is less crumbly.
Instead of soaking the dough in a bowl, I use my own version of a "proofer." It is a large, clear acrylic container with a top that completely seals. When using my proofer to rise dough, I use a wipe-erase marker to mark where the dough was initially and where it should be when doubled, so I don't have to guess.
When soaking the dough between 7 and 30 hours, if you will not be able to finish processing the dough before the 30 hours expires, just put the bowl of soaking dough in the fridge. When you are ready to process, bring it back out and let it sit at room temperature for a couple of hours before continuing with the recipe.
The darker dough that results on top after soaking is absolutely fine and normal.
To test if the rising loaves are ready to be popped in the oven, gently press the surface with your finger: if the dough springs back, let it rise a bit longer, if it doesn't spring back, pop them in!
The extra loaf can be placed in the freezer until needed.
Showing posts with label recipe. Show all posts
Saturday, February 27, 2016
Sunday, January 10, 2016
Chicken Soup with Dumplings
January, high winds, heavy downpours.... This isn't typical winter weather, but it
still calls for a fire in the woodstove and warm chicken and dumplings soup for
dinner. Justine took this opportunity to
learn how to make soup and dumplings, and what a wonderful job she did!
The recipe:
1 medium onion, chopped
3 small carrots, chopped
1 tsp. dried thyme
2 cloves garlic, minced
2 quarts chicken broth
2 cups chopped, cooked chicken
1 cup frozen peas
Before starting, be sure to remove the fat from the top of the homemade broth.
Heat olive oil in the soup pot (enough to thinly coat the
bottom). Cook the onion and carrots until soft.
Add the thyme and garlic and cook for another minute. Carefully add the chicken broth (be careful to watch out for the steam as you
add it to the pot!) Then add the cooked chicken and frozen peas.
Cover, bring to a boil, then turn to low and simmer while
you put the dumpling dough together.
(Jasmine is hoping some of the chicken will land on the
floor!)
For the dumplings:
1 1/2 cups flour
3/4 tsp. baking powder
3/4 tsp. salt
3 T. butter
3/4 cup milk
I use the dumpling recipe from an old Betty Crocker cookbook I picked up from the free shelf at the local library. Since we don't use shortening as the recipe calls for, though, we substitute butter.
Stir together the flour, baking powder and salt. Then cut the butter into the flour mix until it resembles coarse
crumbs.
(Now Jasmine is blatantly begging!)
Carefully fold in the milk.
(Don't stir or mix too vigorously as it may cause the dumplings to be tough.)
Before adding the dumplings to the soup, taste the soup and
add salt and pepper to taste. Then spoon
the dumpling into the soup.
Cover the pot and keeping the soup simmering, to cook the
dumplings for 10 minutes. Then uncover
and cook for 5 more minutes.
See all those dumplings?
That's because we doubled the recipe.
The girls both just recently discovered they like dumplings and one
recipe wasn't enough! We also needed
enough to go with the leftover soup the next day and this dumpling recipe
stands up well to being reheated.
(Oh, and Jasmine, the clean-up crew, did her job well!)
Some Notes
For making any soup, you can follow the same method above. It's a good way to use up bits from the
fridge and freezer The basic method is
as follows::
1. Saute root veggies
until soft (onions, leeks, turnips, carrots, parsnips...)
2. Add garlic and
herbs
3. Add broth
4. Add meat and/or more
tender veggies to cook (potatoes, squash, corn, peas, beans...)
That gives you a basic method for making soup. Soup is a great way to use up veggies and
meat in the fridge and freezer. Remember
it is essential to use homemade broth for a good, healthy soup. Take the time to make your own broth! You can still make a fairly quick soup if
your broth is frozen. It may just take a
little gentle coaxing to get the frozen broth up to temperature in the soup pot
before adding your meat and tender veggies
There are other techniques you can employ as well, such as
using an immersion blender to make a smooth soup and pouring in some kefir or
yogurt before serving to make it creamy.
(Be careful to slowly add some hot soup to the kefir or yogurt while
whisking to temper the kefir/yogurt before adding it to the soup, or it may
curdle.)
Here's to warm, happy, healthy tummies!
Love from,
Mum
Friday, January 8, 2016
Chicken Broth, Remouillage, Bouillon
...and doggie's dinner!
If you don't have enough room in the freezer to store the
broth, make bouillon cubes! Cook the
soup down to 1/3 it's original volume.
Stir in some beef gelatin if you have it, though this isn't absolutely
necessary. Pour into an ice cube tray
and freeze overnight. Once frozen, pop
out the cubes and store them in the freezer. (I've seen information online for cooking the broth down until it becomes very thick, then drying it and storing it dried. This is called portable soup and perhaps someday I'll try making it.)
This bouillon is good for boosting soup flavor without adding more
liquid volume. It also works well to place one or two cubes
in a mug and reconstitute them with
hot water and add a pinch of salt and sage and twist of lemon to taste. Good to sip those winter colds away!
After years of trying different broth recipes,
I've found this method and combination of ingredients yields the best
results.
What you need:
2-3 pounds organic chicken (whole or pieces (bone-in,
skin-on) or bones from a roasted chicken)
1 medium onion
2 medium carrots
3 stalks celery
a small handful fresh thyme sprigs
2 bay leaves
1/4 cup apple cider vinegar
First, you need to chop the meat.
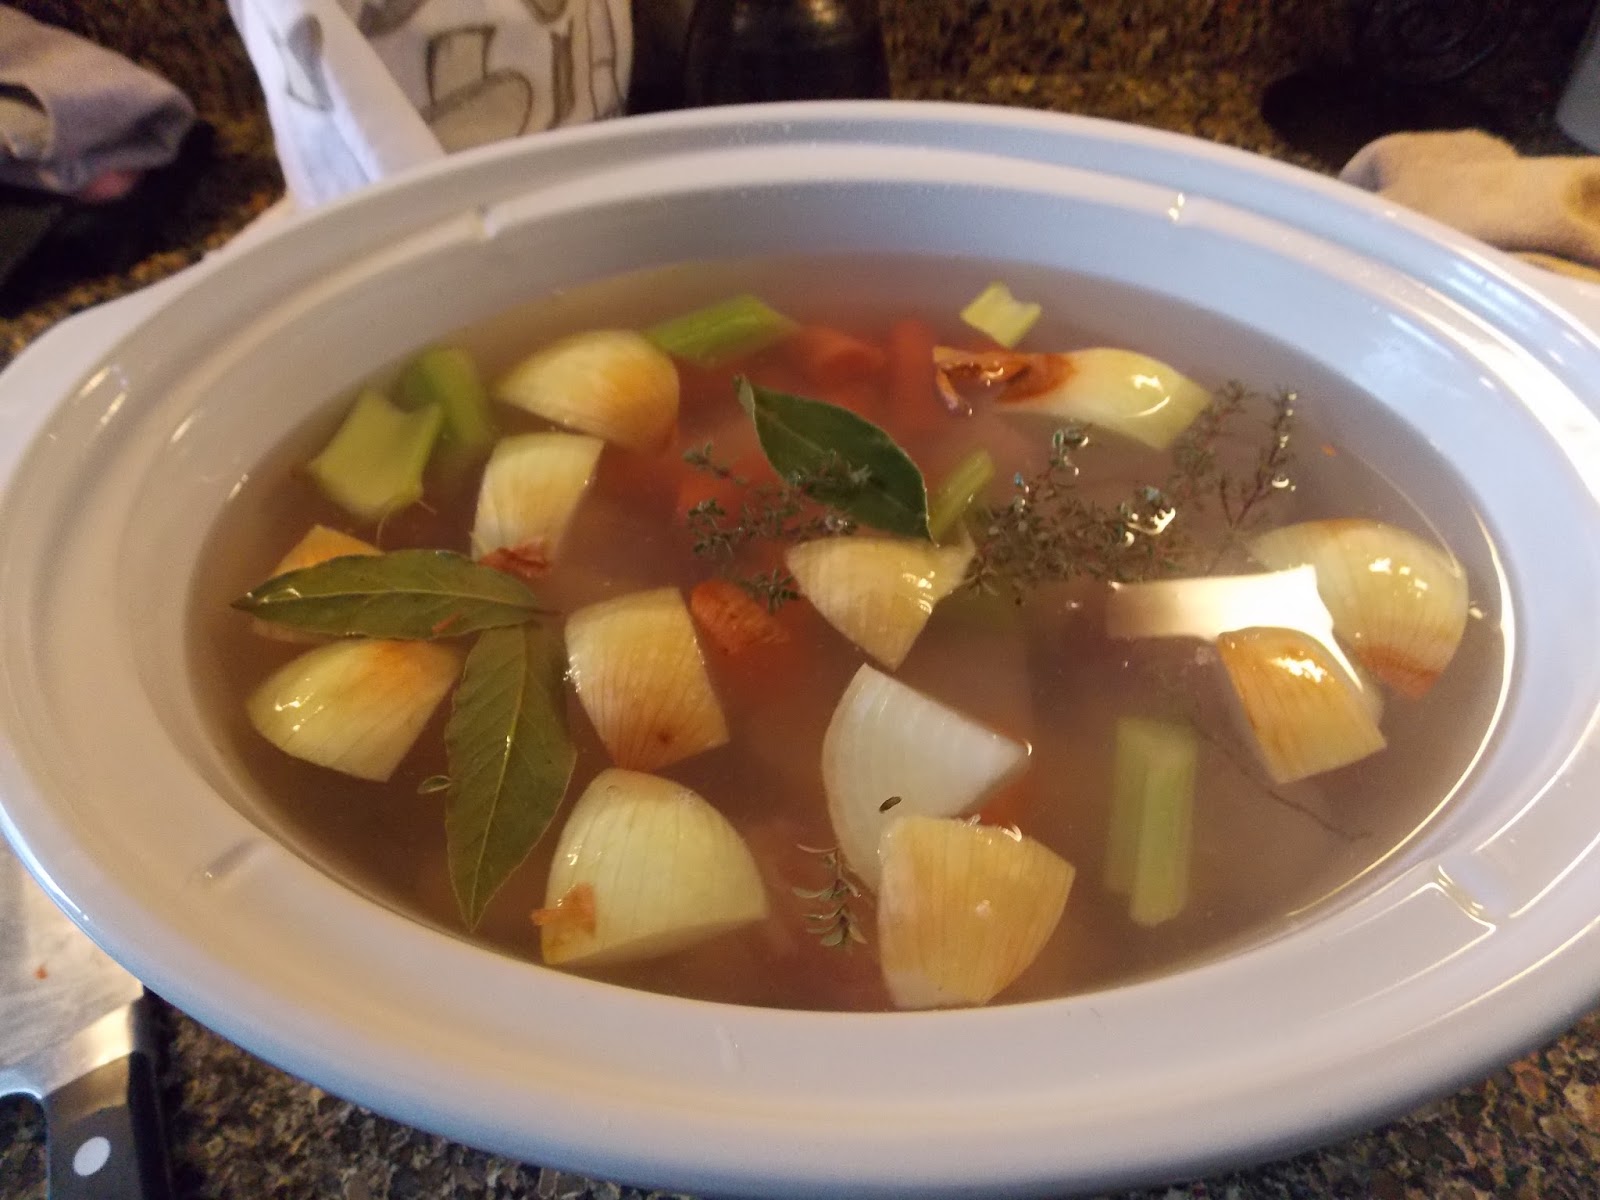
Place the chicken pieces in a crock pot (or in a large pot
for the stovetop).
Roughly chop the veggies.
As long as it's clean, you can leave the onion skin on.
There's no need to chop the herbs.
Put all the veggies and herbs in the crock pot.
Add apple cider vinegar.
Fill the crock pot with water.
Cook on high until just boiling. Depending on your crock pot or stovetop, this
can take several hours.
Then turn down to simmer for at least 3 more hours or until
it smells just right!. (Sometimes, if I
don't have time to strain the broth, I will leave the crockpot on warm overnight
or if using the stovetop the pot, on the "warm" burner.
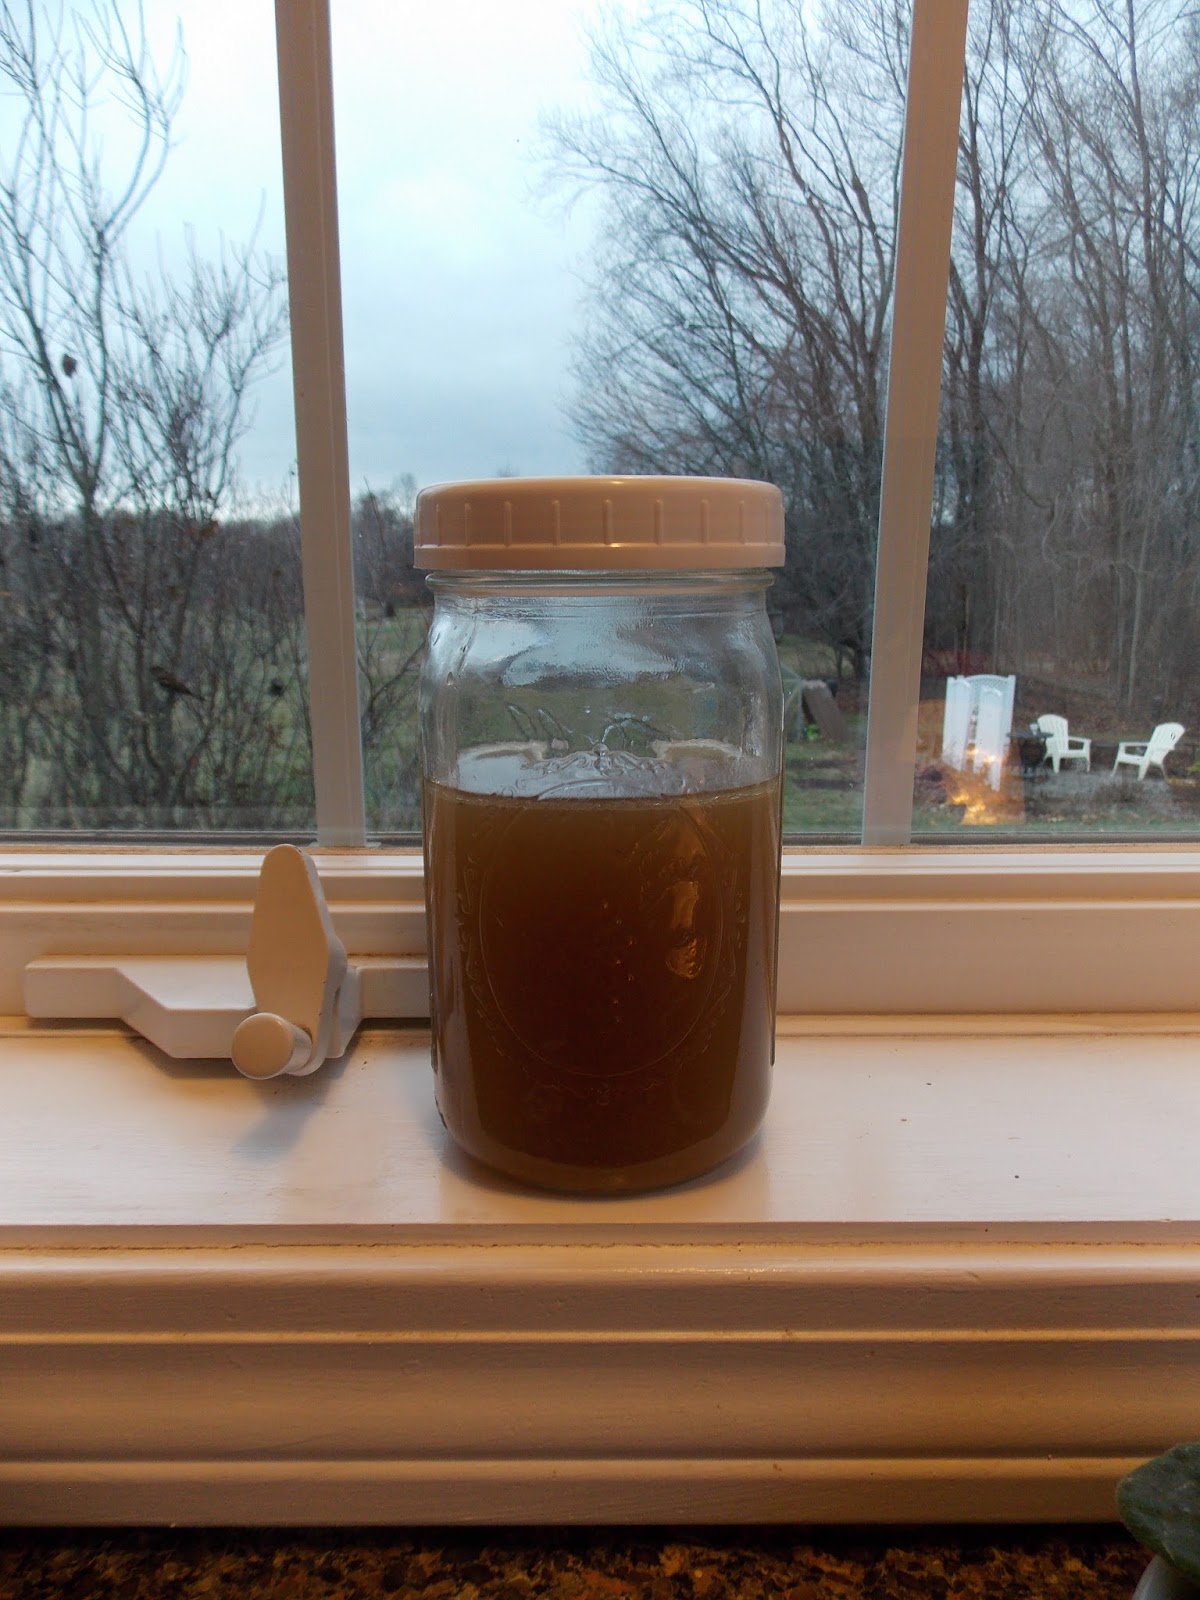
Strain into jars and refrigerate overnight. If not using right away, freeze the
broth. Be sure to pour the broth into a
freezer-proof container. Mason jars may
burst in the freezer.
REMOUILLAGE
Now, the reserved veggies and meat/bones can be brothed
again. Simply put them back in the crock
pot with another 1/4 apple cider vinegar and fill the pot with water. Go through the same routine: (1) bring to a boil; then (2) simmer for a
few hours. Strain and quickly cool the
same way you did the first broth. Once
again, save the strained veggies and meat!
This second broth is a remouillage which can be used for cooking rice,
pasta or adding to condensed soups or for replacing the water in homemade baked
beans.
DOGGIE'S DINNER
Even if you choose not to make a remouillage, the meat and
veggies have lost alot of flavor in the brothing process, but can be separated
from the bones and chopped finely then added to the dog's bowl!
BOUILLON
hot water and add a pinch of salt and sage and twist of lemon to taste. Good to sip those winter colds away!
Subscribe to:
Posts (Atom)